How To Cut Chair Rail / How To Install A Chair Rail 13 Steps With Pictures Wikihow / To determine the height of the chair rail, measure the height of the ceiling and divide it by three.. Turn the miter to the same angle on the other side of the platform, and cut the second corner piece in the same fashion. Measure and cut any miters for the chair rail, especially if you are turning any corners that are not 90º. The back side of the molding should be shorter than the front. Line up the end of the chair rail with the miter box so that you cut it at a 90 degree angle. Cut away the excess wood on the back of the piece of molding, using the coping saw.
The inside corner cuts on your chair rail must be made different than the outside corner cuts. Step 1 determine the desired height for the chair rail place a dining room chair against the wall and measure from the floor to the top of the chair back. This cuts the caulk and prevents the walls from getting torn up. These steps are for molding that sits flat against a wall, like chair rail, picture, rail, shoe or quarter round, and baseboards. Once you have cut one corner end of the rail, cut the corner as well.
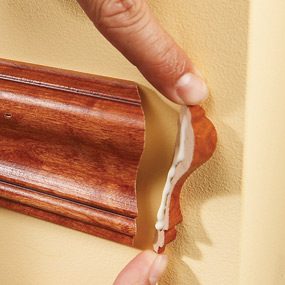
Install A Chair Rail How Tos Diy from diy.sndimg.com This is where i messed up.i did not have the back of the trim flush against the saw. 3 nail the chair rail in place using 6d or 8d nails. Saw through the edge of the chair rail. When cutting them, make sure the patterns line up. Run a strip of carpenter's glue across the back. Chair rail isn't just for the dining room anymore! Measure and cut any miters for the chair rail, especially if you are turning any corners that are not 90º. Outside corners often flare out slightly, so that the chair rail needs to be cut at more than 45 degrees.
A piece of lattice was run along that side of the bookcase to fill that gap you see above).
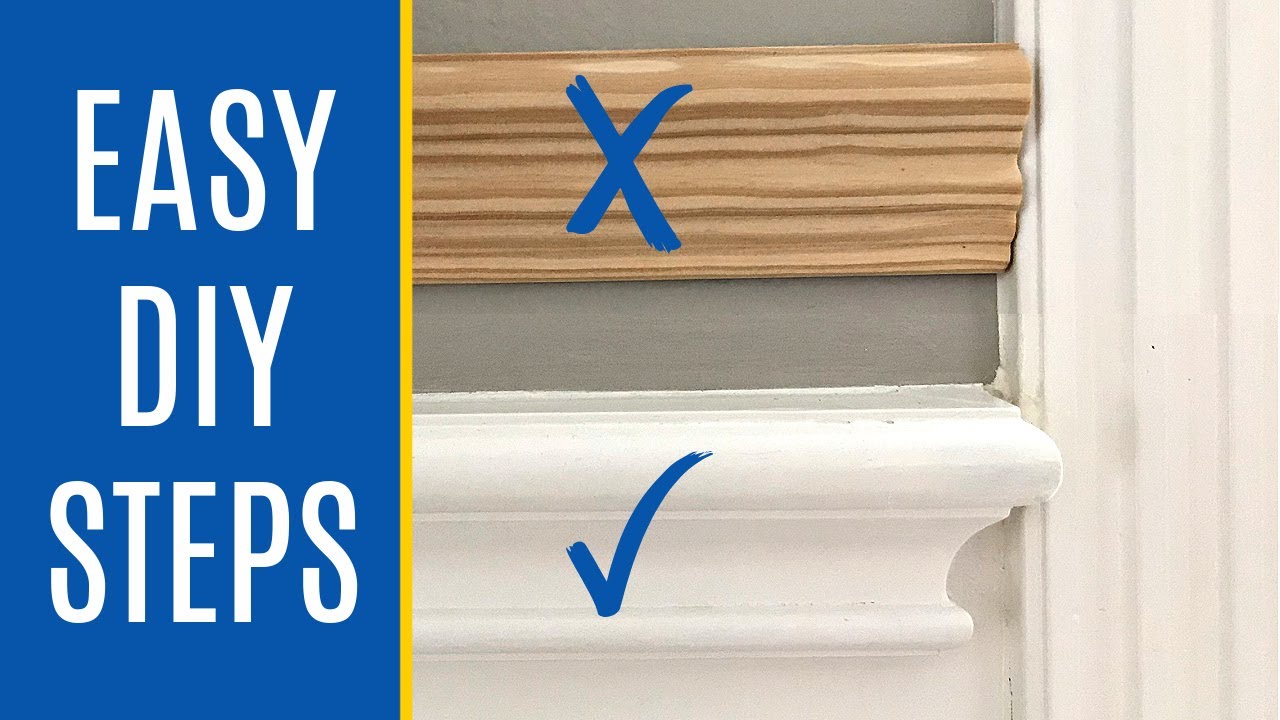
If you have such a corner, look for an angle measuring device at your hardware store. Once you have cut one corner end of the rail, cut the corner as well. Cut a 45 degree angle on the end of the molding that needs the dead end or end cap. Insert the edge of the pry bar beneath the wood trim and hit it with a rubber mallet a few times until it goes under the wood more. I'm relatively happy with the outcome. The general rule is that the chair rail should be about 1/3 of the way up from the floor (between 32 and 36 for an 8' ceiling). Cutting an end cap for crown molding is more complicated. It's now a great way to add some character to your boring, basic walls. One significant cut to remember as well is to make end caps for the chair rail. Removing the chair rails from the walls. Chair rails are available in many preformed shapes, or you can create. I suggest a newbie or anyone out of practice and or making a convoluted cut practice a couple times till the confidence level is up. Watch as the #verycoolguys of construction show you how to install chair rail, in a proper molding installation.today we show you, step by step, how to insta.
Run a strip of carpenter's glue across the back. The general rule is that the chair rail should be about 1/3 of the way up from the floor (between 32 and 36 for an 8' ceiling). An inside corner will be cut differently than the outside corner. One significant cut to remember as well is to make end caps for the chair rail. Demo is the fun part.
How To Cut End Cap For Chair Rail Molding How To End Chair Rail At Door Frame Windows On A Wall Youtube from i.ytimg.com Insert the edge of the pry bar beneath the wood trim and hit it with a rubber mallet a few times until it goes under the wood more. It's now a great way to add some character to your boring, basic walls. Run a strip of carpenter's glue across the back. The 45 degree cut on the return will abut the chair rail, and the 90 degree cut will sit flush with the wall (or in this case, the side of my bookcase. I suggest a newbie or anyone out of practice and or making a convoluted cut practice a couple times till the confidence level is up. You will need to take separate measurements for each. A chair rail protects the wall from damage caused by the backs of chairs being pushed against the wall. When cutting them, make sure the patterns line up.
Both sides should be cut at the same angle.
Unfortunately, at the end of the day, we did not have any extra pieces to use for mitering and didn't want to wait 3 weeks to get it in, which would have thrown off the timing of the whole project. Use level and tape measure to mark the level on the wall where the chair rail will go. The general rule is that the chair rail should be about 1/3 of the way up from the floor (between 32 and 36 for an 8' ceiling). This measurement also determines the length and elevation of tongue and groove panels to be installed for the wainscoting. I'm relatively happy with the outcome. Insert the edge of the pry bar beneath the wood trim and hit it with a rubber mallet a few times until it goes under the wood more. Take a piece of the chair rail and put it into a miter box. Outside corners often flare out slightly, so that the chair rail needs to be cut at more than 45 degrees. This cuts the caulk and prevents the walls from getting torn up. Watch as the #verycoolguys of construction show you how to install chair rail, in a proper molding installation.today we show you, step by step, how to insta. Cut away the excess wood on the back of the piece of molding, using the coping saw. 3 nail the chair rail in place using 6d or 8d nails. If you have such a corner, look for an angle measuring device at your hardware store.
Learn a quick and easy way to make your end caps for a chair rail.check out our wall boxes tutorial: It takes the form of a horizontal strip of decorative wood, fixed at the same height as the chair backs, so that the wood, rather than the plasterwork, takes the knocks. Cut a 45 degree angle on the end of the molding that needs the dead end or end cap. These steps are for molding that sits flat against a wall, like chair rail, picture, rail, shoe or quarter round, and baseboards. Line up the end of the chair rail with the miter box so that you cut it at a 90 degree angle.
How To Install A Chair Rail Molding Diy Family Handyman from cdn2.tmbi.com Saw through the edge of the chair rail. Measure the wall according to the length to determine how many lengths of chair rail molding will be needed. The general rule is that the chair rail should be about 1/3 of the way up from the floor (between 32 and 36 for an 8' ceiling). Learn a quick and easy way to make your end caps for a chair rail.check out our wall boxes tutorial: Cut chair rail and nail directly into the wall studs; When autocomplete results are available use up and down arrows to review and enter to select. Unfortunately, at the end of the day, we did not have any extra pieces to use for mitering and didn't want to wait 3 weeks to get it in, which would have thrown off the timing of the whole project. Chair rails are available in many preformed shapes, or you can create.
Miter cut the other end of the chair rail so that the cut edge faces inward toward the wall and the long edge is on the outside.
The back side of the molding should be shorter than the front. Chair rails are available in many preformed shapes, or you can create. When autocomplete results are available use up and down arrows to review and enter to select. One significant cut to remember as well is to make end caps for the chair rail. You can also use a miter saw for cutting the rails. Line up the end of the chair rail with the miter box so that you cut it at a 90 degree angle. Cut away the excess wood on the back of the piece of molding, using the coping saw. The inside corner cuts on your chair rail must be made different than the outside corner cuts. Place the chair rail molding on a miter saw on the left side of the blade. It takes the form of a horizontal strip of decorative wood, fixed at the same height as the chair backs, so that the wood, rather than the plasterwork, takes the knocks. Chair rail isn't just for the dining room anymore! Swing the miter saw blade to the left side and. An inside corner will be cut differently than the outside corner.